1. Go to the menu Add-ons > Catalogue
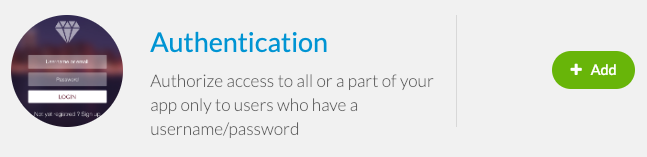
2. Click the “More Info” button under Authentication.
3. Click the “+ Add” green button.
2. Push notifications history
Users are able to see push notifications history in their profile page.
Activate this feature on your app:
1. Go to the left menu USERS > Settings :: Tab “User Profile”
2. Enable the button “Display push notification history”

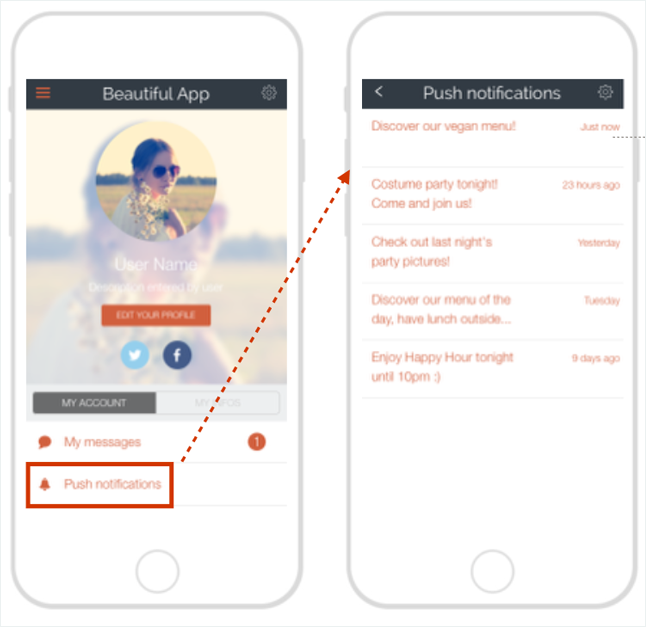
On your app (User profile > Push notifications) when users are logged in, they will be able to see on their profile page a menu “Push notifications”.
By clicking it, they can see all push notifications they received on their device.
They will be able to click them (call to action are still working on that page).
Beware:
– Only pushes received on THIS device will be listed.
– Push history only displays push notifications (no GeoAlert – Beacons/Geofences).
– Only notifications sent when the user was logged in your app will be displayed.
3. Scheduled push notifications settings
On their push notifications history page, users can also set which scheduled push notifications they will receive.
To activate this feature on your app:
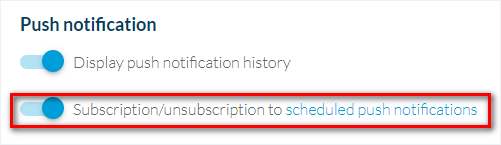
1. Go to the left menu USERS > Settings :: Tab “User Profile”
2. Enable the button “Subscription/unsubscription to scheduled push notifications”*
*The button “Display push notification history” must be activated in order to activate the scheduled push notifications settings.
On your app (User profile > Push notifications), your users can choose to receive or not scheduled push notifications:
On the push notification history page, they must click the gear in the top right of their screen.
All rules will be displayed, showing sections and categories to help them to contextualize the rules displayed.

Beware:
Changes made in the push settings page will apply only to the device used.
Ex: I have an iPad and an iPhone. Settings configured on my iPad won’t be applied to my iPhone, I’ll have to do it again on my phone.


