1. Add a new Podcast section
1. In the left swipe menu go to My App > Content > Sections
2. Click the green button “Add a section” from the right column
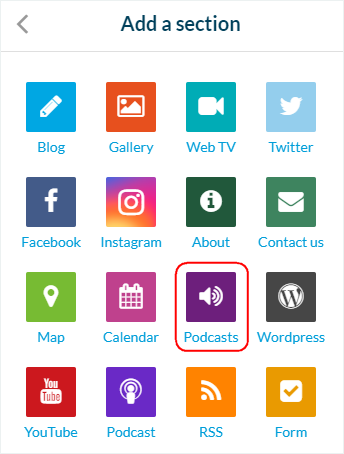
3. Add a sound section by choosing “Podcast” in the content items.
4. Give it a title
5. Click “Add”
2. Upload audio files
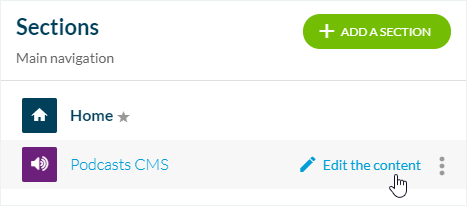
1. Click the 3 dots in your sections list, then “Edit the content” .
2. Click the green button “Add an audio file” in the main column
3. Give it a title
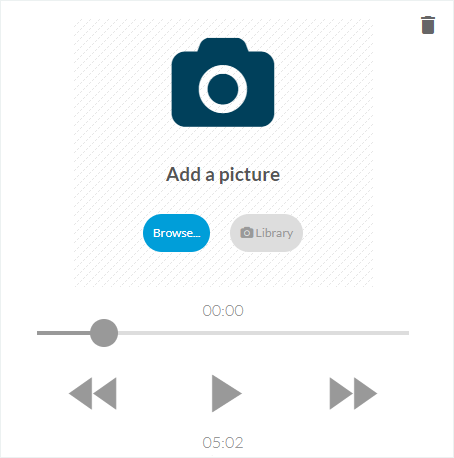
4. Click “Browse” to add your file from your computer
5. Optional: Add a picture from your computer or Unsplash gallery
3. Publication status of your audio content
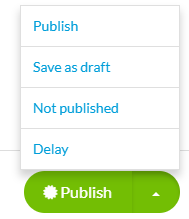
The button at the bottom right of the screen allows you to select the publication status of your content:
-Publish: Your content will be visible immediately to your users.
-Draft: Your content will be saved but not visible to your users.
-Not published: Your content will be saved but not visible to your users. This status can be useful to inform your team members that an article must be reviewed before publication, for example.
-Delay: The publication of your content will be scheduled for the time and date you set.
4. Info tab
1. Go to the right column and click the tab Info
2. Select the section or category where your audio file will appear in the app
3. Select the author from the members of your team, or select the option “Free author” to enter a name manually
4. Set the date displayed on the sound page
5. Optional: Pin this audio file at the top of the list in the sections and categories where it is published.
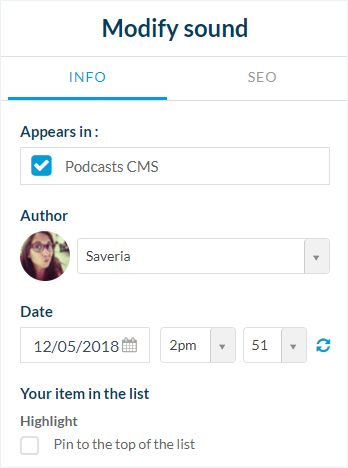
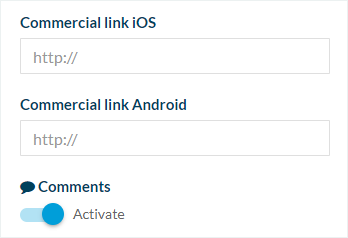
6. Optional: Fill in your file’s commercial link for iOS and Android
7. Enable or disable the comments for this particular audio file
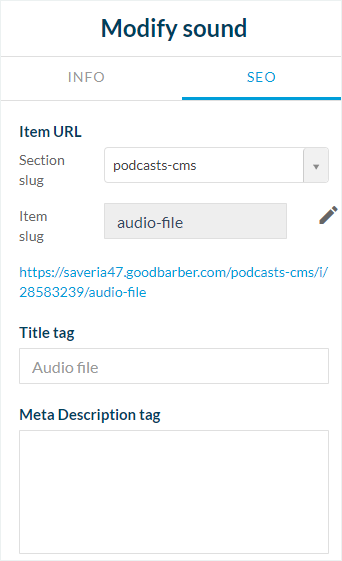
5. SEO tab
1. Optional: edit the slug
2. Optional: edit default title tag
3. Optional: edit default meta description tag
6. Settings of the Podcasts section
To edit the settings of your podcast section, refer to this online help:
Settings of the sections.


