1. Add an CMS video section
1. In the left swipe menu go to My App > Content > Sections
2. Click the green button “Add a section ” from the right column
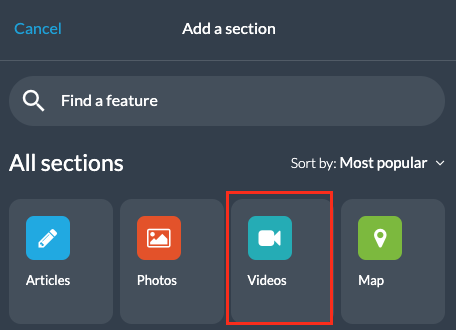
3. Add a video section by choosing “WebTv” in the content items.
4. Give it a title
5. Click “Add”
2. Add video
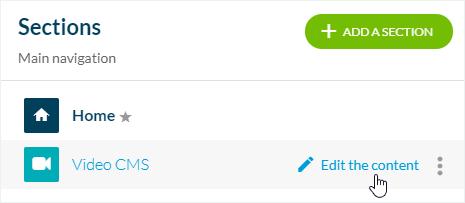
1. Click the 3 dots in your sections list, then “Edit the content”
2. Click the green button “Add a video” in the main column
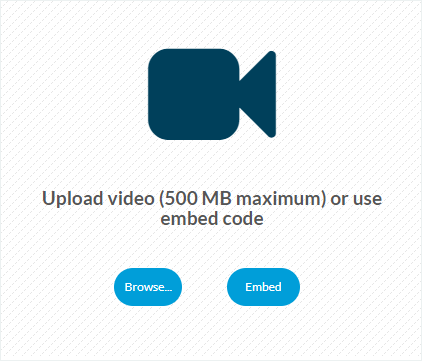
3. Add a video from your computer to your app section:
– Click “Browse” to upload a video from your computer with a limit of 500 Mb
or
– Click “Embed” and paste an embed code
3. Description of your video
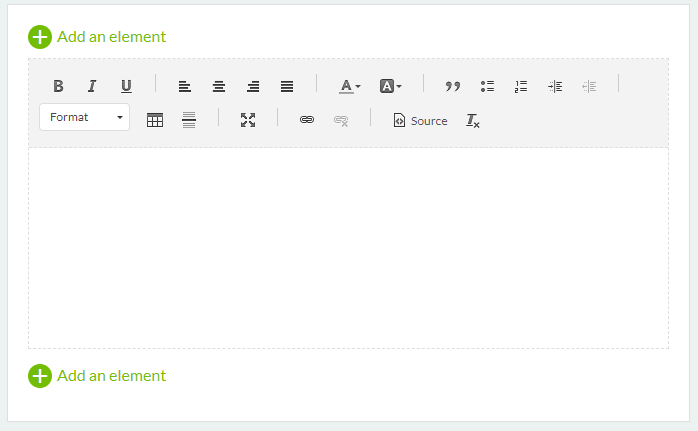
In the main column of your back office, once you’ve added your video, you can write a description and add different elements to your page (text, photos). Please read our online help to see, in detail, how a CMS page can be edited.
4. Tab Info
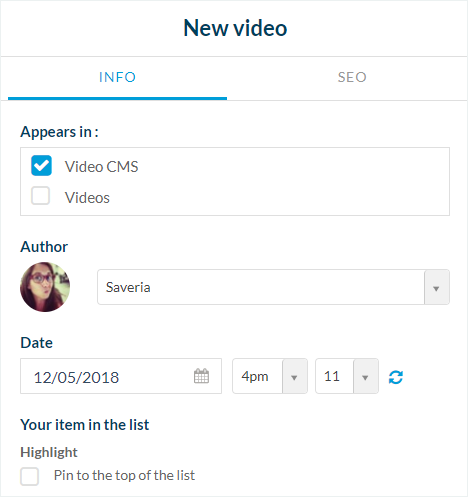
1. Go to the the right column and click the tab Info
2. Select the section or category where your video will appear in the app.
3. Select the author of the video from the members of your team, or select the option “Free author” to enter a name manually.
4. Set the date displayed on the article.
5. Optional: Pin this video at the top of the list in the sections and categories where it is published.
6. Optional: Add a thumbnail from your computer or from Unsplash gallery
7. Optional: Add a summary
8. Activate or deactivate comments on this video
5. Tab SEO
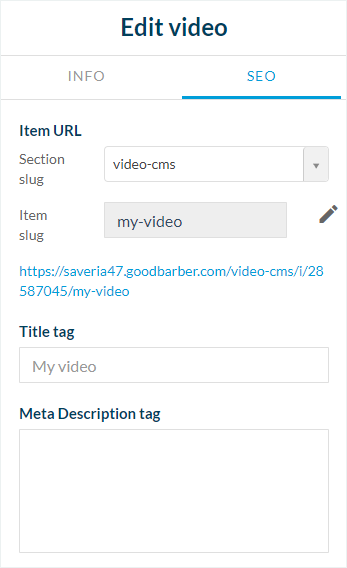
1. Optional: edit the slug
2. Optional: edit default title tag
3. Optional: edit default meta description tag
6. Status of your page
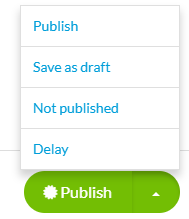
Once you have finished, at the bottom of the page, you can choose the publication status of your video page:
- Publish your video immediately – the content will immediately be published in your application.
- Save as draft – the content will be saved but not published in your application.
- Not published – the content is waiting to be published in your application.
- Delay – the content will be published according to the date scheduled.
