The header (logo and title) is the upper part of the app that is always visible and accessible on all sections.
The header serves 3 purposes :
- to give the section a title
- to display shortcuts
- to navigate in the app
To setup your Logo & Title:
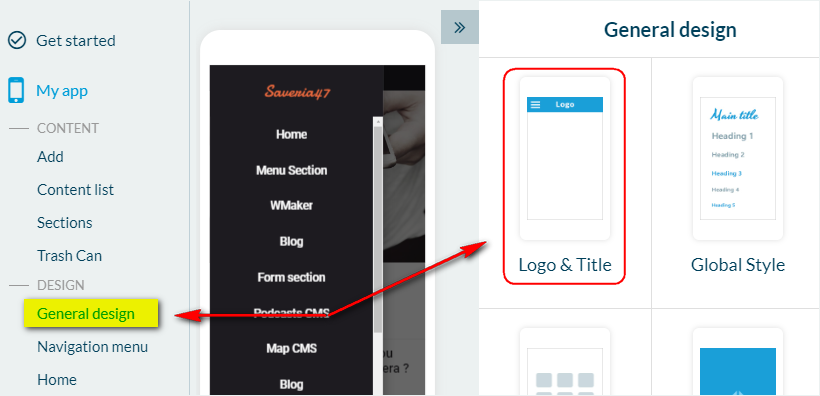
1. Go to the left swipe menu My App > DESIGN > General Design
2. Click “Logo & Title” on the right column
Note: This online help covers the management of the header’s default settings, also known as the general header.
To customize the design of a specific section’s header, follow instructions of this online help.
1. Logo & Title
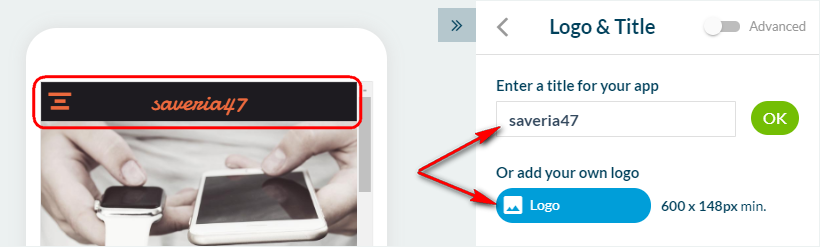
The central part of the header allows you to give a title to a section. This title can be displayed in the form of text or an logo (image).
– Text: click the text to edit it.
– Logo: click the “Logo” button to add an image* in the place of text.
*Respect the minimum size requirements of 600 x 148 px.
2. Advanced settings
Click “Advanced settings” to edit deeper the design of your header.
Several settings are available, access them by scrolling down the right column.
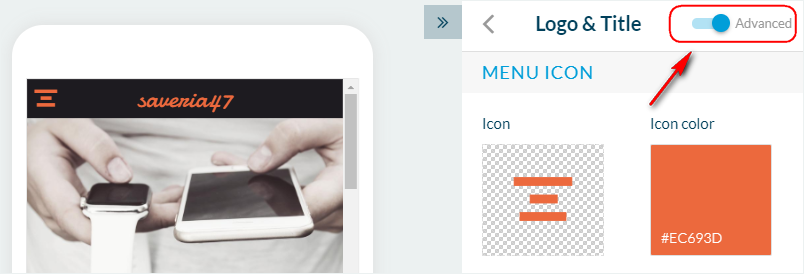
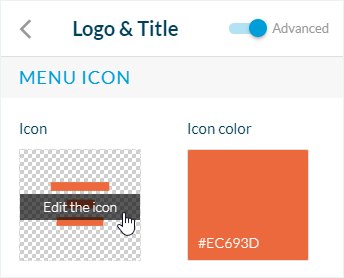
A – Menu Icon:
The left part of the header is used to display the navigation actions, when necessary.
Principal navigation access (menu button)
The navigation menus Swipe, Little Swipe, Grid, Slate, and From Scratch, provides a menu button displayed in the header and allows to access the content.
For the navigation menus TabBar and No menu, this button will not appear.
1. Click “Edit the icon” to change the icon
2. Click the “Icon color” to change its color.
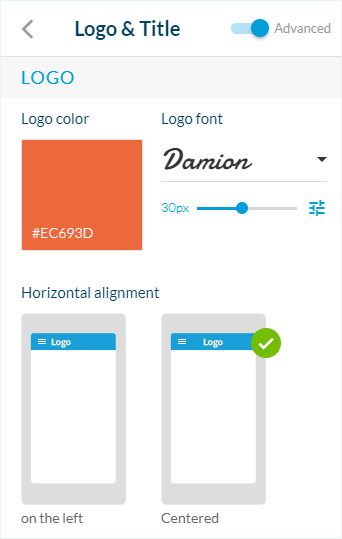
B – Logo:
1. Edit the color and font of your text
2. Select the horizontal alignment of the image or text
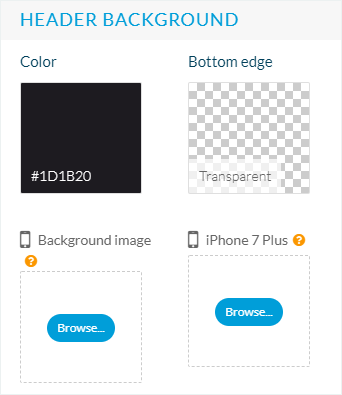
C – Header background:
1. Define the header’s background color and bottom edge or choose to apply a background image*.
*It is possible to choose a different background image based on the device the app is being displayed on. Be sure to respect the sizes. The sizes are given in reference to iOS devices, but the same size images will be used in Android devices of equivalent size.
– Background image: 640 x 128 px minimum
– iPhone 7: 750 x 128 px minimum
– iPhone 7 Plus: 1242 x 192 px minimum
– Tablet and desktop: 2048 x 128 px minimum
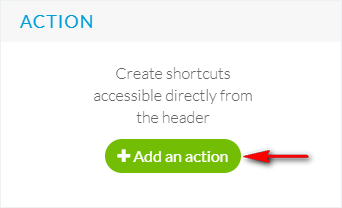
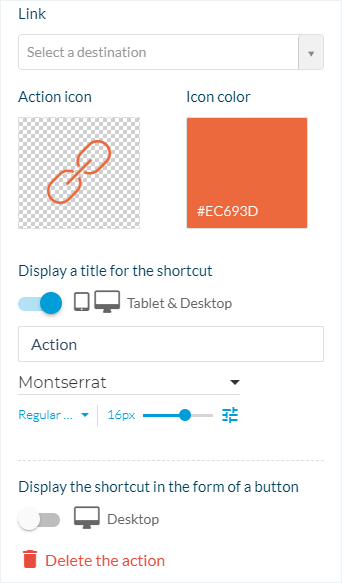
D – Action:
To create shortcuts* on the right side of the header:
1. Click the green “Add an action” button.
*It is possible to add a maximum of 6 shortcuts:
– 1 to 2 shortcuts: direct access from the header
– Above 2 shortcuts: the first one is directly accessible, the others are accessible from an additional drop-down menu.
2. Select the link of your shortcut (shortcut destination) from the drop down menu
3. Select your shortcut’s icon
4. Display a title* (only displayed on tablet and desktop)
5. Activate “Display the shortcut in the form of a button” (optional, only for Desktop)
*The titles of the shortcuts belonging to the additional drop-down menu are always displayed, regardless of the device being used.
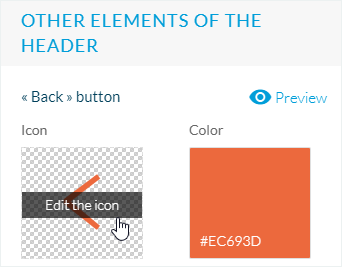
E – Other elements of the header
Set the design of the “Back” button used to go back to previous sections inside your app.
1. Click “Edit the icon” to change the icon
2. Click “Color” to change its color.
3. Choose to apply between the following effects to your header:
– no effect
– transparency
– blur (available only for iOS. For the Android and Web versions, the transparency effect will be applied)
– hiding