1. Activating the Live Video Add-on
The Live Video section is designed specifically to stream video.
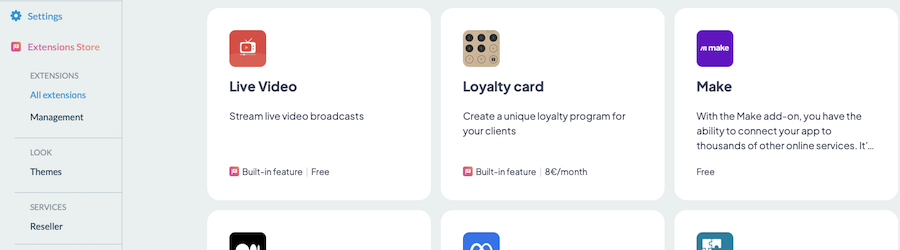
To create a Live video section, activate the Live video add-on in the menu Add-ons > Catalogue and scroll down to Live Services.
Click on “More Info” and then on the green “+ Free” button.

As soon as you activate this add-on, you will automatically be redirected to the Live Video section created.
You may also simply create a live video section from My App> Content > Sections > Click on the green +Add a section > External plugins > choose the option Live Video.
2. Configure the source
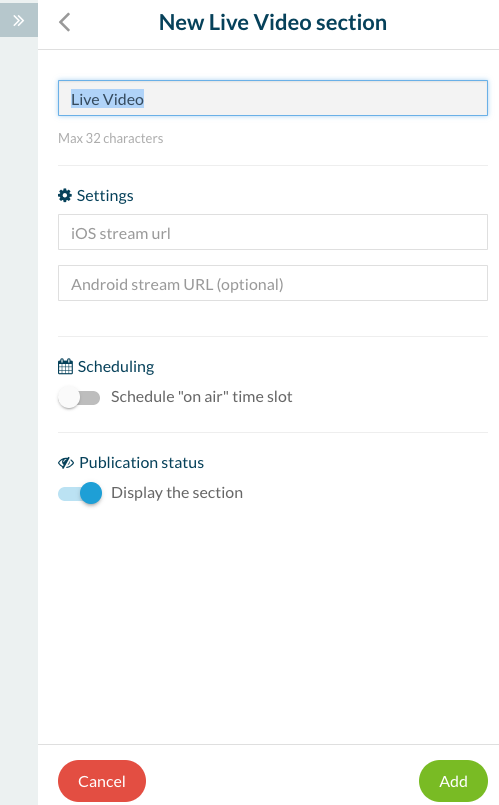
Insert the URL of your live video feed and click on the “Add” button. You must use a video feed streaming format in the Live Video section.
We recommend the following formats http live streaming for iOS and for Android mp4:
– Feed M3U8 for iOS (HTTP Live Streaming)
– Feed RTSP for Android.
The compatible feed must respect these guidelines: https://developer.apple.com/streaming/
*** Feeds such as Youtube, Ustream, etc. are incompatible with this type of section. ***
Note: We remind you that if you are using the live video feature, you directly use the streaming provided by your provider. We do not recommend providers or services, you choose one at your discretion. If you search online, you can find several live video providers.
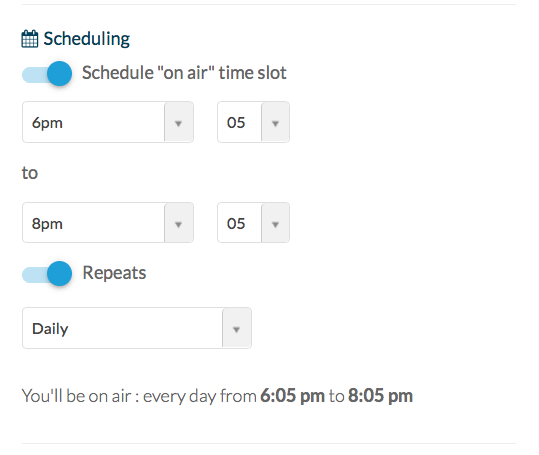
3. Scheduling
To schedule your stream, activate the Scheduling button, and enter the time when you want to go on air.
You can repeat this schedule, depending on how often you want to go on air.