1. Add a Calendar section
1. In the left swipe menu go to My App > Content > Sections
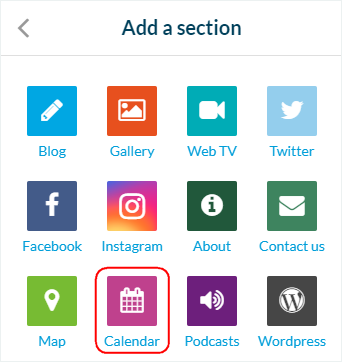
2. Click the green button “Add a section ” from the right column
3. Add a calendar section by choosing “Calendar” from the available options
4. Give it a title
5. Click “Add”
2. Add en event
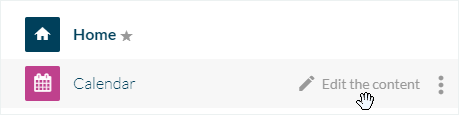
1. Click the 3 dots in your sections list, then “Edit the content”
2. Click the green button “Create an event” in the main column
3. Give it a title
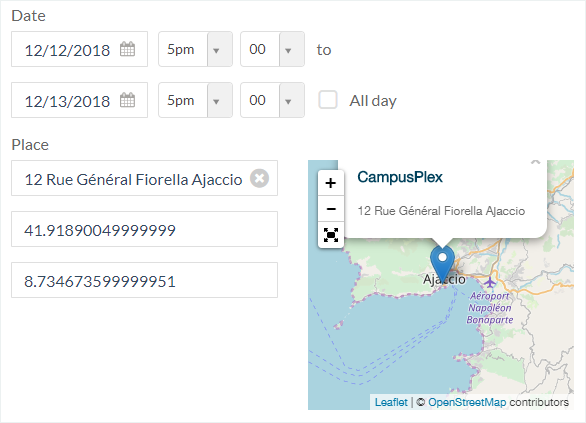
4. Set the starting time and date, the ending time and date, and the location (optional).
5. Tick the box “all day” to display only a date and no starting or ending time for your event (optional)
6. Add a description for your event and other elements if needed
All events are displayed in the content list of your back office (even when they are over).
However, note that past events will automatically disappear from the app. Your users can only see the current or future events.
3. Info Tab
1. Go to the right column and click the Info tab
2. Select the section or category where your event will appear in the app.
3. Set the action buttons:
– Call a telephone number
– Write an email
4. Set links to:
– A website URL
– A URL to buy tickets
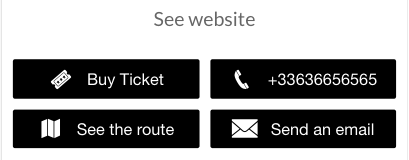
Four buttons can be displayed in the event:
– see the route (that will open the phone’s default Map app)
– buy tickets
– call a number
– send an email
The “other information” link will always be displayed separately, above the other buttons.
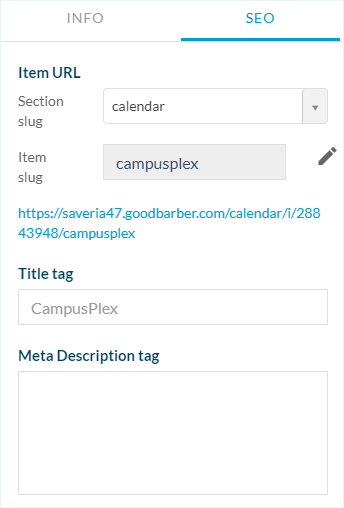
4. SEO
1. Optional: edit the slug
2. Optional: edit default title tag
3. Optional: edit default meta description tag
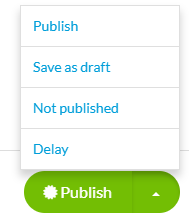
5. Publication status of your event
The button at the bottom right of the screen allows you to select the publication status of your event:
-Publish: Your event will be visible immediately to your users.
-Draft: Your event will be saved but not visible to your users.
-Not published: Your event will be saved but not visible to your users. This status can be useful to inform your team members that an article must be reviewed before publication, for example.
-Delay: The publication of your event will be scheduled for the time and date you set.
6. Settings of the Calendar section
To edit the settings of your Calendar page, refer to this online help:
Settings of the pages.
7. List view display options
This setting controls the display for the list view of your events.
1. Go to the menu My App > Design > Sections design
2. Click your event section from the section’s list
3. Click “Edit Events list”
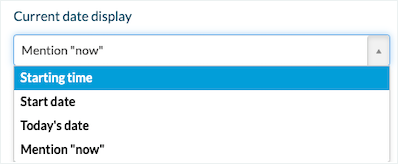
Date list view options
Starting Time: This will display the specific start time of the event if it is not an all day event.
If the event is an all day event, then it will show icon “24” indicating the event is all day.
Start Date: Used for events that span multiple days or one day event.
It will display the start Date of the event even if you are into the second date. (For example if the event is 6/8/19 to 6/10/19 and the current date is 6/9/19, it will always display 6/8/19).
Todays Date: Used for events that span multiple days or one day event.
It will display the current date of the event (For example if the event is 6/8/19 to 6/10/19 and the current date is 6/9/19, it will always display 6/9/19).
Mention Now: Will display “Now” instead of the date if the date is occurring today.
The upcoming dates will still be shown with the date.
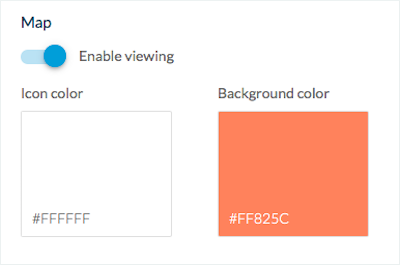
8. Map View
This setting allows you to display all the events of your section in a Map view.
1. Go to the menu My App > Design > Sections design
2. Click your event section from the section’s list
3. Click “Edit Events list”
4. Under “Map”, switch on the button “Enable viewing”
9. IMPORTANT
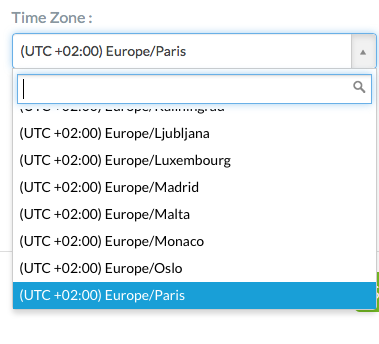
The time zone of reference for your events is the one you set in your profile (My profile > My account).