1. Add a CMS Photo section
1. In the left swipe menu go to My App > Content > Sections
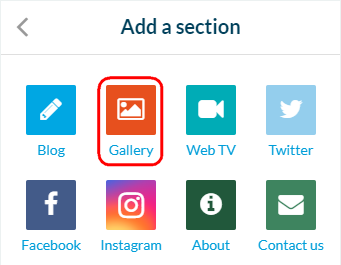
2. Click the green button “Add a section ” from the right column
3. Add a photo section by choosing “Gallery” in the content items.
4. Give it a title
5. Click “Add”
2. Upload images
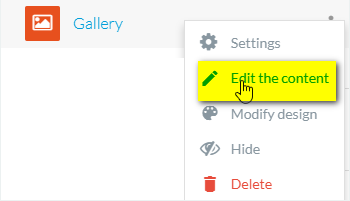
1. Click the 3 dots in your sections list, then “Edit the content”
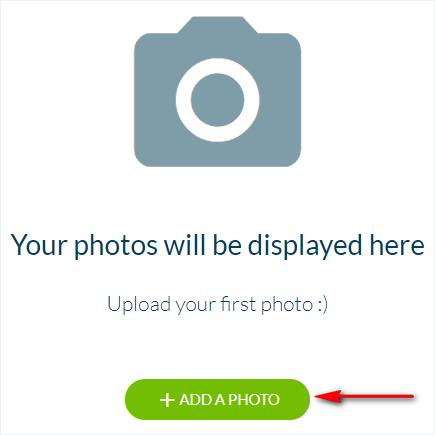
2. Click the green button “Add a photo” in the main column
3. Upload images from your computer to your app section
Maximum dimensions for an image are 3264 * 3264 px.
Size must not be larger than 4 MB.
You can upload up to 100 pictures at the same time, you’ll get an error message when you go beyond that.
3. Edit images
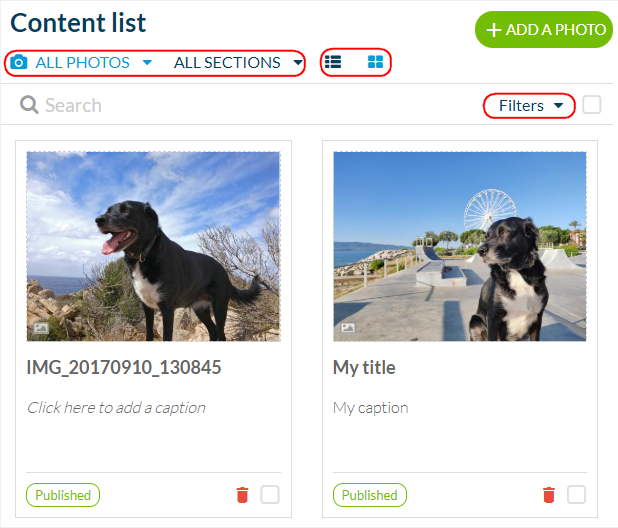
1. Go to the menu My App > Content > Content list
2. Select “All photos” in the drop down menu
3. Select the section involved if needed from the drop down menu
4. Modify the title of the photo by clicking it
5. Add a caption by clicking it
6. Modify the publication status of the photo
7. Delete images by clicking the red trash icon
8. Check the number of comments and manage them by clicking the icon Comment
Note:
– Select list or grid view from the top bar
– Use filters if needed, it will sort your photos by status
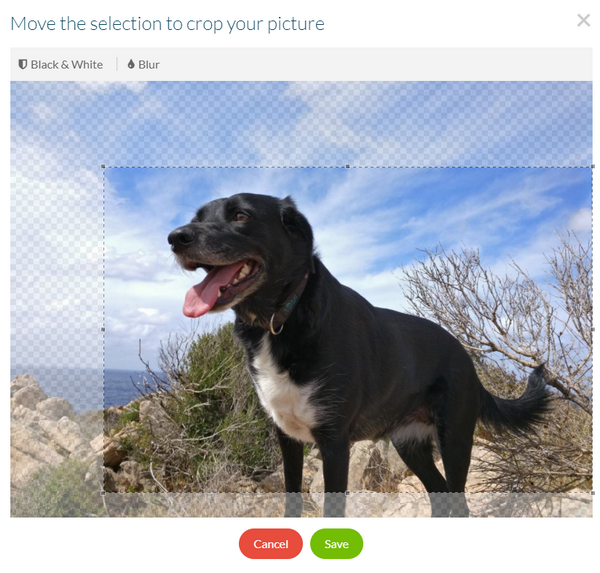
9. Crop the image and/or apply effects
-mouse over the thumbnail image
– click the blue icon
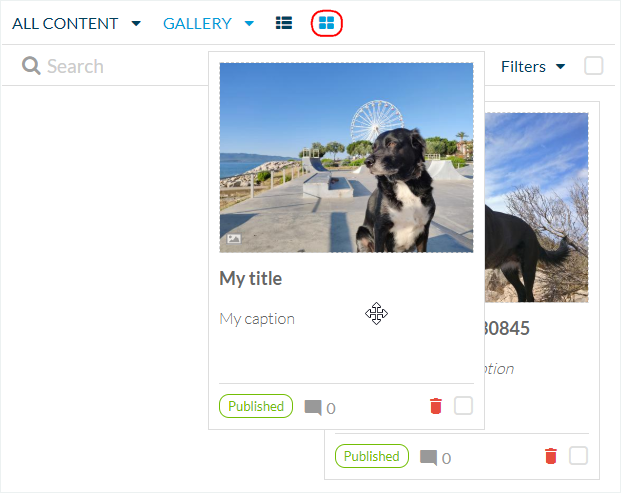
4. Order your images
1. Select the Grid view
2. Drag and drop images to order them
5. Settings of your photo section
1. Go to My App > Content > Sections
2. Click the 3 dots next to your section
3. Click Settings:
– edit the title of your section
– activate comments
– customize the URL of the section
– etc..


