1. Add a Menu section
This section allows you to create multiple navigation levels in the application.
1 – Open the left swipe menu, click on My App > Content > Sections
2 – Click on “ + Add a section”
3 – Click on “Load more”
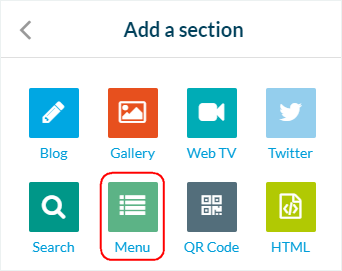
4 – Add a Menu section by clicking on “Menu”
5 – Add a title to your new section
2. Add sections under your Menu section
To add sections under the Menu:
1. Go to the menu My App > Content > Sections
– Drag and drop existing sections from the right column of your back office under your menu section
or
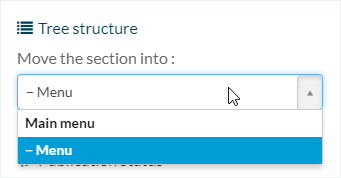
– Open the settings of the section, and use the drop down menu.
For new section, choose from the drop down menu at the creation of the section.
A new navigation level will be added to your app.
Take note that it’s possible to add a second Menu section under the first one, in order to create another navigation level.
It is possible to add up to 4 levels of navigation.
3. Design the Menu section
1. Go to the left hand menu My App > Design > Sections
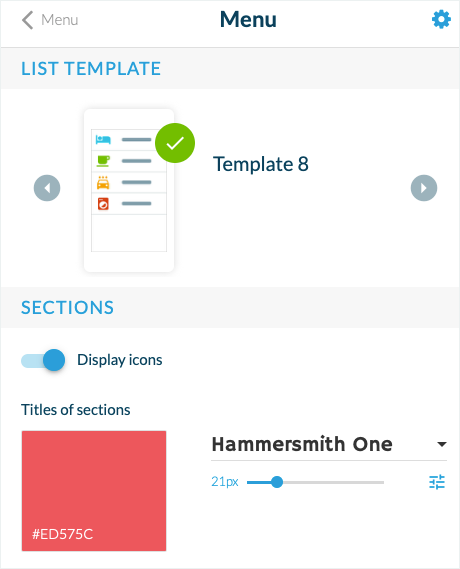
2. Select your menu section to access its design settings.
You’ll be able to choose a template for your menu, background images, effect, fonts, colors, icons etc.
4. Settings of your Menu section
To access the Settings of your menu section
1. Go to the menu My App > Content > Sections
2. Click the 3 dots icon next to your section.
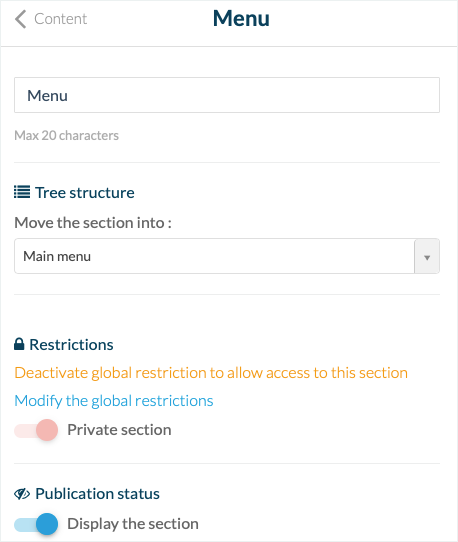
This menu allows you to edit the general settings of your section:
– Move the section in your general app’s tree
– Manage the publication status of your section
– Edit it’s default URL
5. Publish your modifications
Publish your modifications to apply them to your already published PWA and native apps (depending on your offer).
– Click the “Update now” button at the top right of your back office.


