1. Access the Settings of a section
To access the Settings of a section:
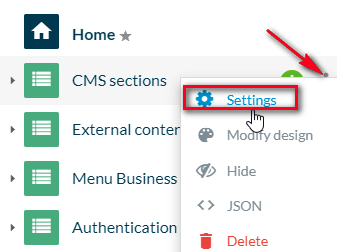
1. Go to My app > Content > Sections
2. Place the pointer of your mouse on a given section
3. Click on the 3 dots that appear at the end of the line
4. Choose “Settings”
The options displayed in the Settings of a section will depend on the section’s type and the content source.
2. Edit the name of a section
You can change the name of a section from the Settings of that section.
1. Replace the default name with the one you want
2. Click on the button “Save” at the bottom of the page
A message will inform you the modification is successful.
The new name of the section will also appear at the top of the Settings menu.
The number of characters allowed in the name of your sections depends on the template of your Navigation Menu.
3. Set categories / filters in a section
If your section allows it, you can create and manage your categories / filters from the Settings of the section.
More info about the management of the categories and filters is in this online help.
Edit the name of a category / filter
The name of the category / filter can be edited, within the limit of 32 characters:
1. Click on the category / filter of your choice
2. Change the name
3. Click Save at the bottom of the page
A message will inform you the modification is successful.
The new name of the category / filter will also appear at the top of the menu.
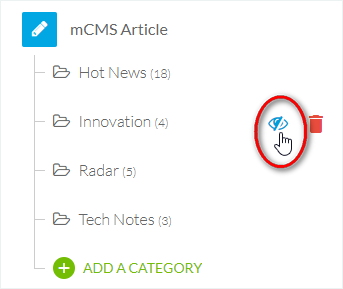
Hide or display a category / filter
You can hide a category or a filter by changing its Publication Status.
Switch the button “Display the category” to off in order to make it invisible to your users.
You can also hide a category or make it visible again by clicking on the eye-shaped icon in the list of categories / filters.
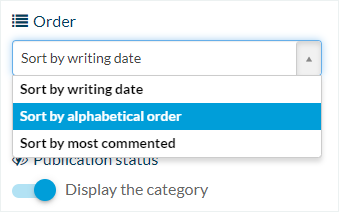
Sort the content of a category
If you are using a CMS section, you can sort the content of a category depending on which category it is (main or secondary):
– For the main category, you can sort the contentby writing date, alphabetical order, or most commented.
– For the other categories (all but the main one), you can sort the content by writing date, position (you can rearrange the content manually), alphabetical order, or most commented.
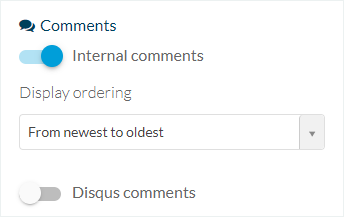
4. Manage the comments
If your section allows it, a Comments tab will be displayed. You can choose between 2 comments systems:
– The Internal comments: your comments are managed by The App Match.
Use the dropdown list to change the display of these comments: from the newest to the oldest, or from the oldest to the newest.
– The Disqus comments: your comments are managed by Disqus, which is an external service.
To activate it on this section, switch the Disqus comments button to “on” and add your Disqus shortname.
If you don’t want your users to comment on the content of this section, switch both buttons to “off”.
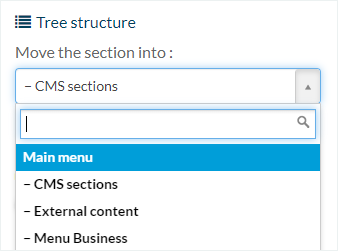
5. The Tree structure
If your app includes at least one Menu section, the Tree structure option will be available in the Settings of your sections.
The tree represents the structure of your application, which can be represented this way:
Main navigation menu > Menu section (extra navigation level) > Section
From the Tree structure, you can easily move your section from the main navigation menu to a Menu section or the other way around.
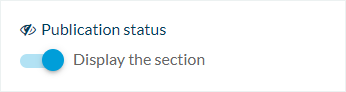
6. Publication status of the section
To edit the publication status of the whole section:
1. Switch the button “Display the section”.*
*You can also hide a section or make it visible again by clicking on the eye-shaped icon from the list of sections.
Warning:
When a section is not displayed, it is not accessible at all, as if it didn’t exist.
Therefore, you should never make a link to a section set as hidden.
7. Customize the URL slug of a section
You have the possibility to customize the URL slug of a given section:
1. Scroll down to URL
2. Click the default slug to edit the slug of your page URL
3. Click ‘Save’ at the bottom of the menu
Warning:
The URL of each section must be unique!
Never customize a section URL with the same slug than another section of your app.

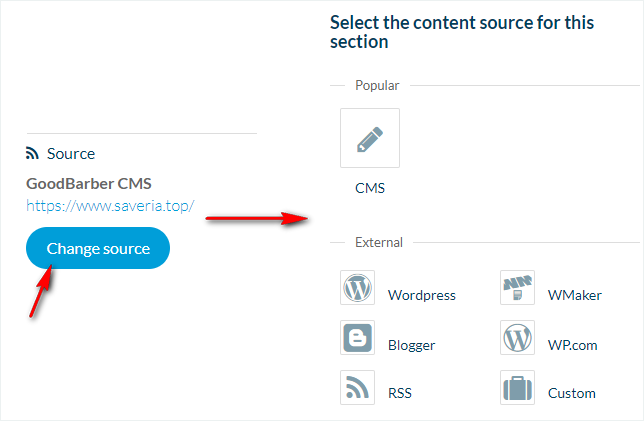
8. Change the source of a section
To edit the content source of a section:
1. Click on “Change Source”
2. Select from the available sources offering the same type of content.
In the example below, the original source is a Blog section (CMS section for Article content type).
Therefore, the options to choose from are article content sources.
9. Delete a section
1. Scroll down to the bottom of the Settings menu
2.Click the red button “Delete”*
*You can also delete a section by clicking on the trash-can icon from the list of sections.
A confirmation message will ask you to confirm before deleting the section.
3. Click “Continue” to delete the section.


