This feature allows you to schedule push notifications to be sent automatically when new content is published in a specific section of your app. This is a different feature than the regular push, which allows you to send pushes manually one at the time from your back office.
1. Activate the Schduled Push add-on
1. Go to the menu Add-ons > Catalogue > Scheduled push
2. Click + Add to activate the Scheduled push add-on

2. Schedule an automatic notification
To schedule an automatic dispatch of notifications each time some new content is added to any of your application’s section:
1. Go to the menu Marketing > Push > Schedule.
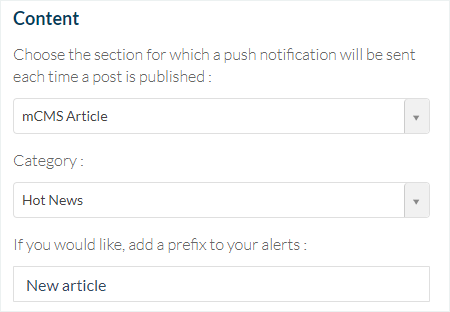
2. Select the section for which a push notification will be sent each time a post is published.
3. Optional: Add a prefix to your alerts (small introductory text to your messages. In the example below, “New Article:”).
You have the option to create an unlimited number of sending rules (avoid overwhelming your users with push notifications or your users may deactivate notifications on their devices).
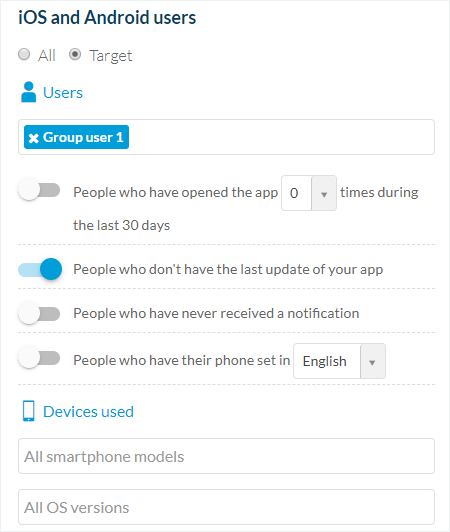
As with traditional push notifications, it is possible to target scheduled push notification recipients, to modify the notification sound, and to change the Apple badge display (Premium plan only).
3. Choose the moment during which the push notification will be sent to your users
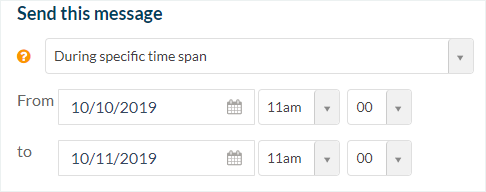
In the drop-down menu “Send this message” you have 3 options:
– Any time: the automatic notifications will be sent each time content is published from your section.
– During opening hours: the automatic notifications will be sent during the time slots indicated for each day of the week. The “Copy” button allows you to automatically apply the same hours to every day of the week.
– During a specific time span: the automatic notifications will be sent only during a given period.
Warning: Calendar section content will be pushed on the date the event starts, not when it’s published in the section.
4. Click “Schedule” button on the right (under the preview)
Your automatic notification is now scheduled .
5. List of scheduled notifications
1. Go to the menu Marketing > Push > Schedule
You can deactivate one or more rules with the ON/OFF button.
See the message content, target settings being used, statistics, as well as the status of the notification (green: automatic push active; black: automatic push deactivated; clock: one-time notification scheduled for the future).
You can edit a scheduled notification by clicking on it.
To delete it, click on the “Trash icon”.


